- Published on
Custom Expo-Update Server
- Authors

- Name
- Luan Phung
The story
Working in a startup project is fun and enjoyable. The requirements are changing every day, we need to release the feature ASAP.
When I built the driver app for a logistics company, it was necessary to implement hotfixes or quickly develop and release features. This is where Expo-Update comes into play.
Expo already has its own server, so why would I require an Expo-Update custom server? The reason is simple: I aim to maintain full control over my code. There are occasions when I need to swiftly roll out new features to specific drivers in particular regions. For instance, suppose I'm integrating with a new partner who demands specialized logic for delivering goods. In such cases, we need to deploy the updated version promptly, ensuring only a select group of drivers can access it. This approach allows for containment—if any issues arise with the update, we can easily revert to a previous version, minimizing disruption to only a small subset of drivers.
In essence, having a custom Expo-Update server enables me to determine precisely when and where updates are distributed to the mobile side.
How to implement
Create custom server to host your mobile app code.
The logic is quite simple, Expo has released Expo Updates Protocol for delivering updates to Expo apps. So we just need to implement a custom server to deliver our updates using this protocal. You can use this repo to create the server custom-expo-updates-server, but it has a small bug that i create a patch for it here. If you opt to use this repository, please be mindful of this detail.
Setup Expo Updates in Mobile App
Update app.json
    "updates": {
      "url": "custom_server_url_here",
      "enabled": true,
      "checkAutomatically": "NEVER"
    }
Install expo-updates
To install expo-updates, just run this script
npm install expo-updates
Write a simple Update Notification
import React, { useEffect, useState } from "react";
import { View, Text, Button, Pressable, Alert, ActivityIndicator } from "react-native";
import * as Updates from 'expo-updates'
import { getStyle } from './style'
export default function UpdateNotification() {
const [updateAvailable, setUpdateAvailable] = useState(false);
const [loading, setLoading] = useState(false);
const styles = getStyle()
async function fetchUpdates() {
const update = await Updates.checkForUpdateAsync();
if (update.isAvailable) {
setUpdateAvailable(true)
} else {
setUpdateAvailable(false)
}
}
useEffect(() => {
fetchUpdates()
}, []);
const updateVersion = async () => {
try {
setLoading(true)
const update = await Updates.checkForUpdateAsync();
if (update.isAvailable) {
await Updates.fetchUpdateAsync();
setLoading(false)
Alert.alert('Update available', 'Please reload the app to use the latest version.', [
{
text: 'Yes',
onPress: () => Updates.reloadAsync()
},
])
} else {
setLoading(false)
alert('There is no update available!')
}
} catch (error) {
setLoading(false)
alert(`There is no update available.`);
}
}
return (
<>
{
updateAvailable ?
<View style={styles?.container}>
<View>
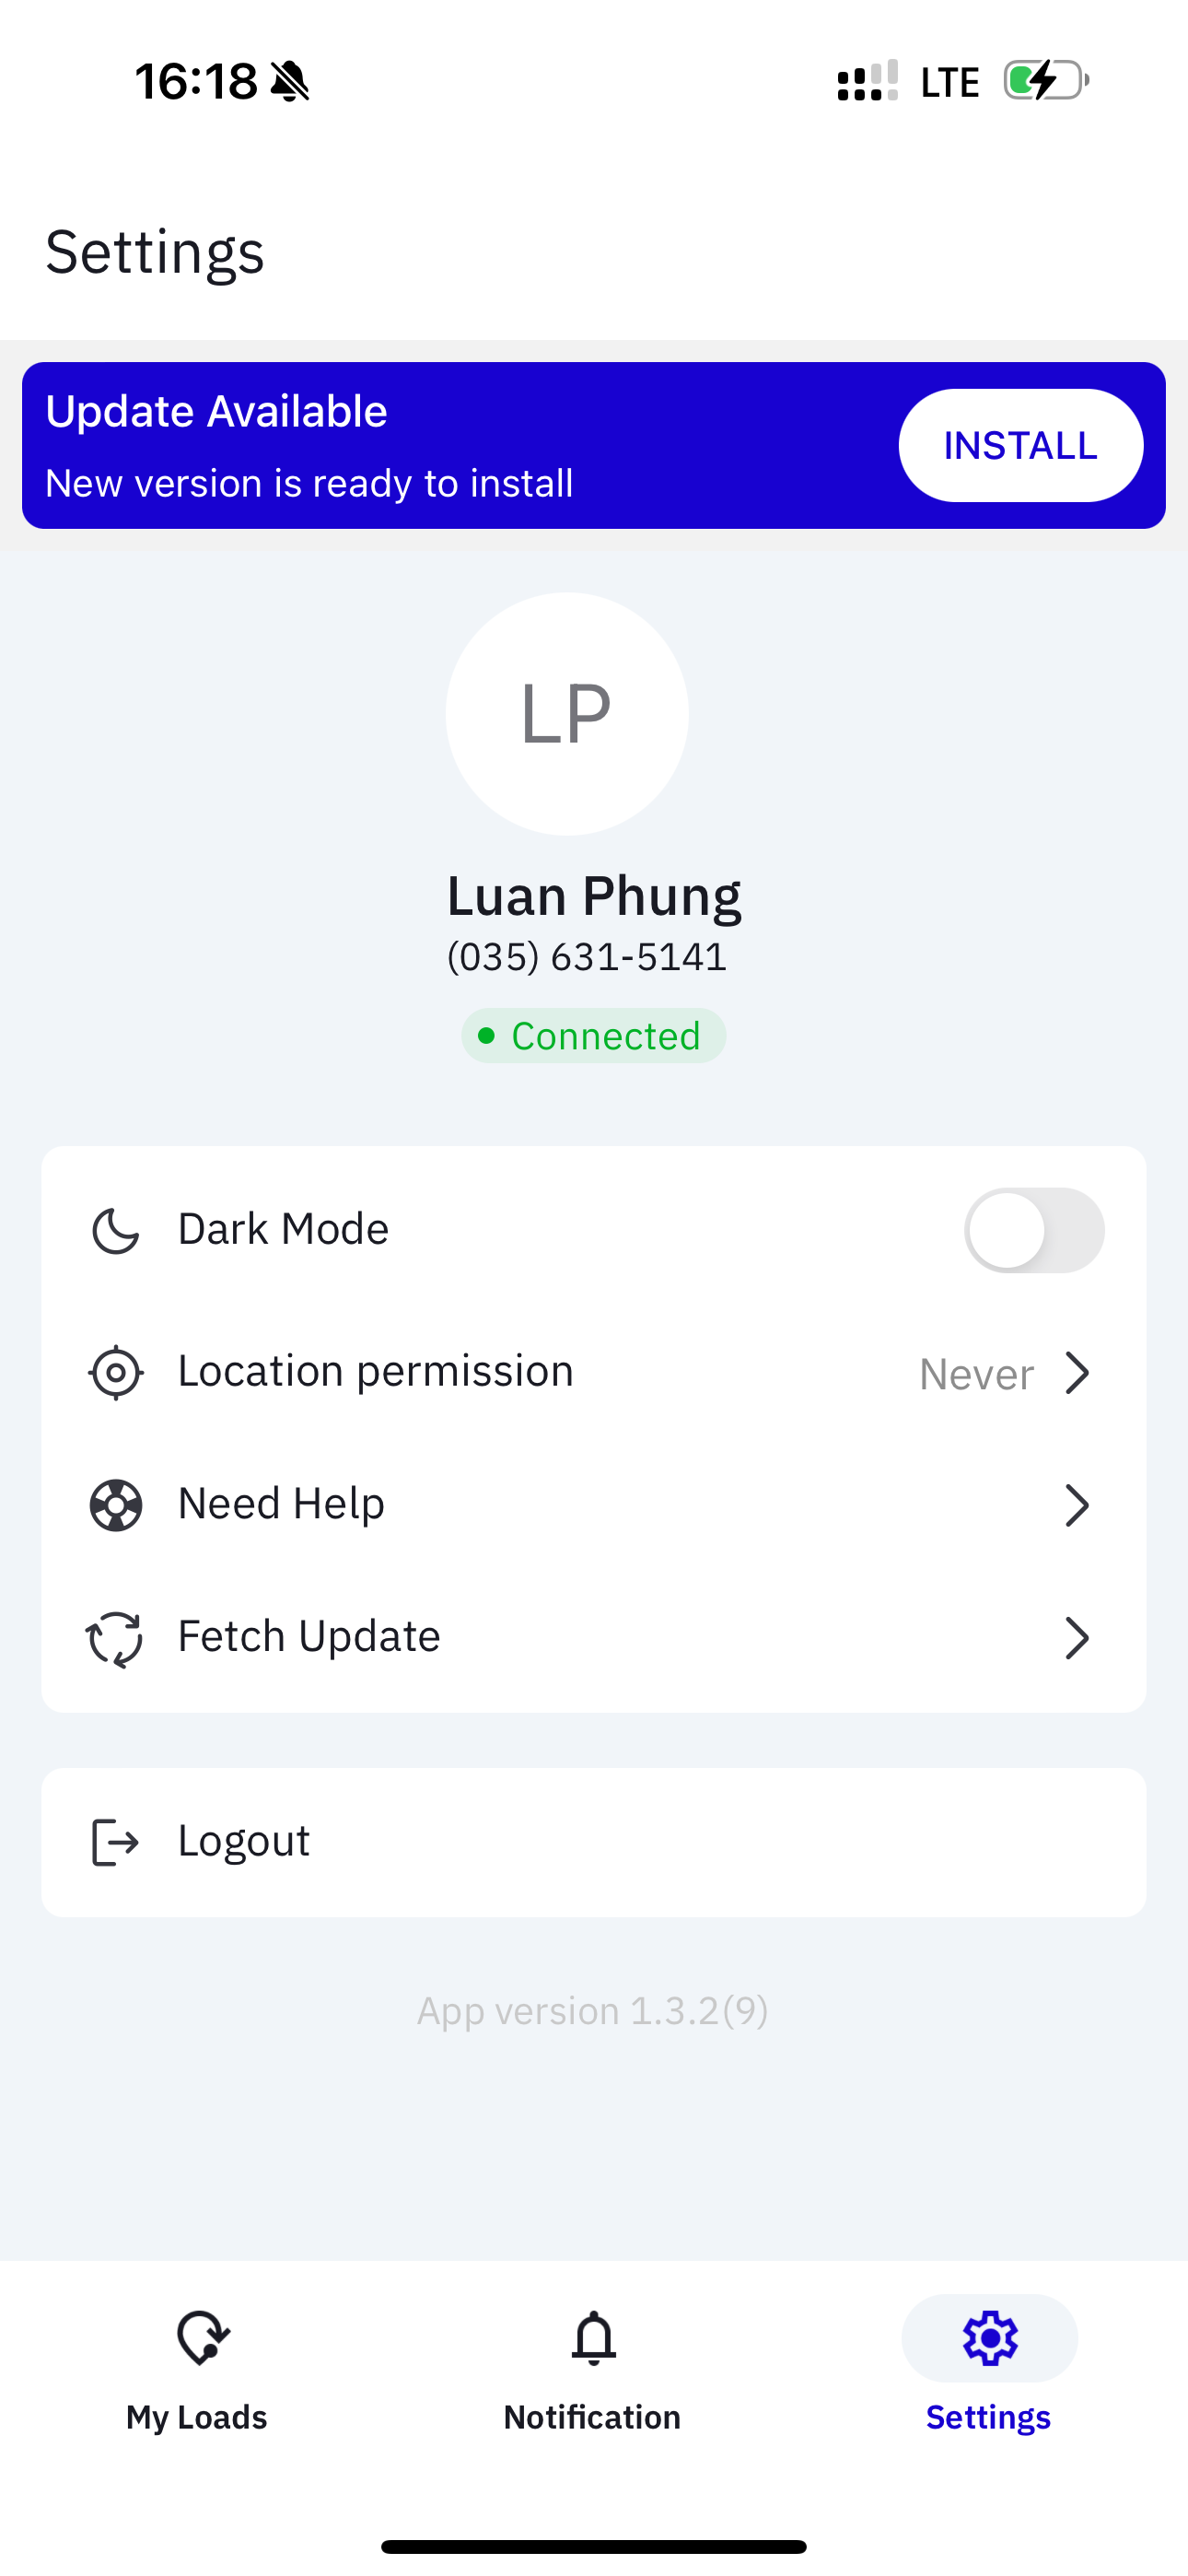
<Text style={styles?.title}>Update Available</Text>
<Text style={styles?.description}>New version is ready to install</Text>
</View>
<Pressable style={styles.button} onPress={updateVersion}>
{
loading ?
<ActivityIndicator /> :
<Text style={styles.buttonText}>{'INSTALL'}</Text>
}
</Pressable>
</View>
:
<View></View>
}
</>
);
}
Write small script to upload export code to the custom server
...
project_folder=/home/luanphung/expo-server
dest_dir=$project_folder/$env/$platform/$CURRENT_VERSION/$NEW_EXPO_BUILD_NUMBER #remember to change this to your path
SERVER=ubuntu@your-server-ip
zipfile=expo_update
#export code & copy necessary to dist folder
npx expo export > /dev/null
node ./scripts/exportClientExpoConfig.js > dist/expoConfig.json
#zip folders & files in dist, zip will reduce time to copy files to server
(cd dist && zip -r "$OLDPWD/$zipfile.zip" .  > /dev/null)

if [[ $? -ne 0 ]]; then
  throw_error "zip error"
fi
# create folder on server
ssh -t $SERVER "
mkdir -p $dest_dir"

# copy zip file to server
scp $zipfile.zip $SERVER:$dest_dir
if [[ $? -ne 0 ]]; then
  throw_error "scp error"
fi

#unzip file on server
ssh -t $SERVER "
cd $dest_dir &&
unzip $zipfile.zip > /dev/null &&
rm  ./$zipfile.zip &&
rm $zipfile.zip
"
#clean up
rm -rf $zipfile.zip
And that's it, when never i want to publish a new version of your app, just run publish_update.sh and done.